
An unboxing video shows the moment a customer opens a package: the outer box, the tissue, the first look at the product and the small details that make it feel like a gift. With holiday orders arriving, it is one of the most useful videos a small brand can make, and interest in unboxing content climbs every holiday season. This guide covers how to make an unboxing video from start to finish, starting with the part most people skip: packaging that is worth opening on camera.
What is an unboxing video?
An unboxing video is a recording of someone opening a newly bought product and showing what is inside, usually with commentary or just the sounds of the packaging. The format grew on YouTube and is now everywhere, from TikTok and Instagram Reels to product pages (Wikipedia: Unboxing).
For a brand, an unboxing video does three jobs at once:
- It answers "what will I actually get?" Viewers see the real size, finish and contents before they buy.
- It sells the experience, not just the product. A box that opens well feels like a gift, which matters most in the holiday season.
- It gives you reusable footage. One good session yields a vertical clip for social, a horizontal cut for YouTube or your store, and stills for ads.
Step 1: Design packaging that is worth unboxing
Most unboxing videos are won or lost before the camera turns on. If the box rattles, the insert is the wrong size or the lid opens onto plain cardboard, no amount of editing will save it. Plan these four moments: the outer box, the opening, the reveal and the product itself.
Pack AI Studio is the tool we recommend for this part. It is an AI packaging design studio that covers the whole path from box size to print file, and its free tools work without an account. Here is how each step looks in practice.
Get a box that fits the product
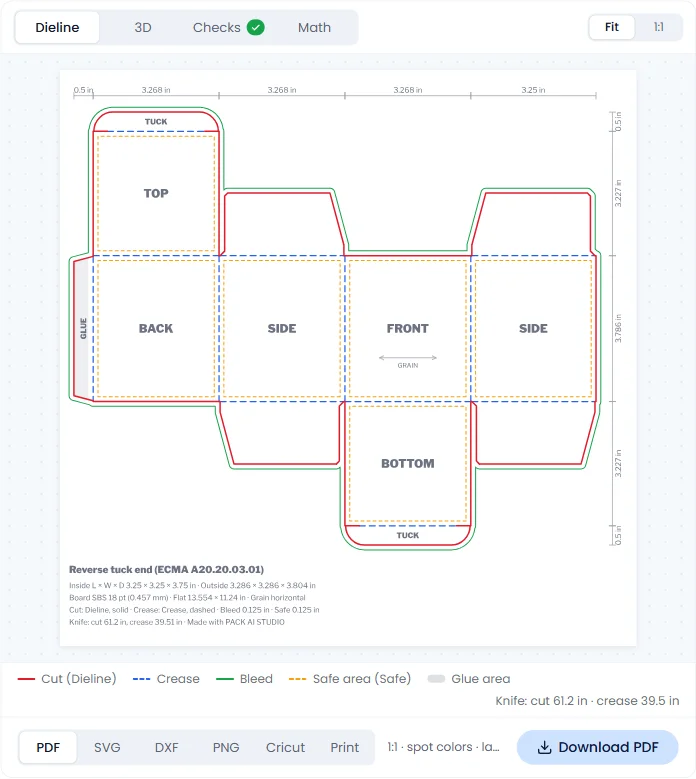
A box that fits snugly looks premium on camera and keeps the product from sliding around. We tested the free dieline generator on Pack AI Studio for a candle in a glass jar: a reverse tuck end box, inside size 3.25 x 3.25 x 3.75 in, on 18 pt SBS board.
What we got back, without signing up:
- The board thickness was built in. From the 3.25 x 3.25 x 3.75 in inside size, the tool calculated an outside size of 3.286 x 3.286 x 3.804 in and a flat size of 13.554 x 11.24 in, so the box closes square.
- A print-ready file. The PDF we downloaded has a full-size page and a Letter page, and the dieline, crease, bleed, safe area and glue lines each sit on their own layer as named spot colors, which is how printers expect to receive them. SVG, DXF, PNG and a Cricut file are also available.
- A 3D check before printing. A fold slider takes the box from flat to closed, so you can see how the tuck flaps and dust flaps meet.
- Checks and numbers for the printer. The tool runs its built-in checks (all passed for our box) and reports 61.2 in of cut line and 39.5 in of crease line, with a 0.125 in bleed and safe area.
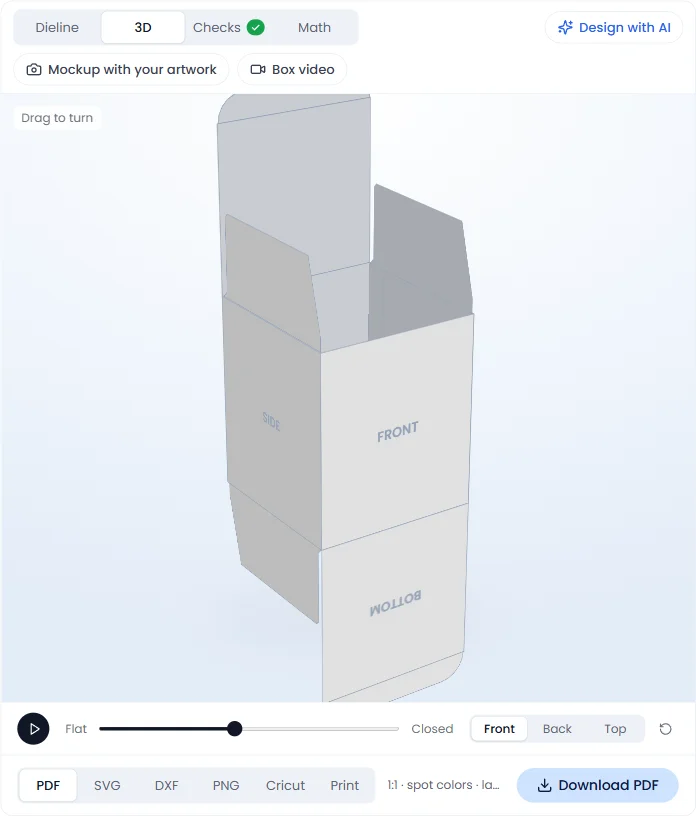
A detail we liked: the "Design with AI" and "Mockup with your artwork" buttons above the 3D view pass the box size along, so you do not retype dimensions when you move on to the artwork.
Make the lid moment count
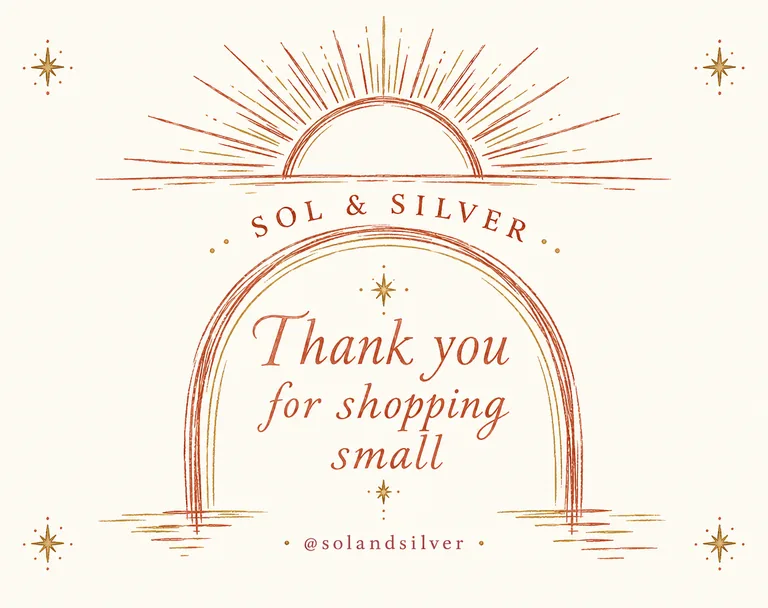
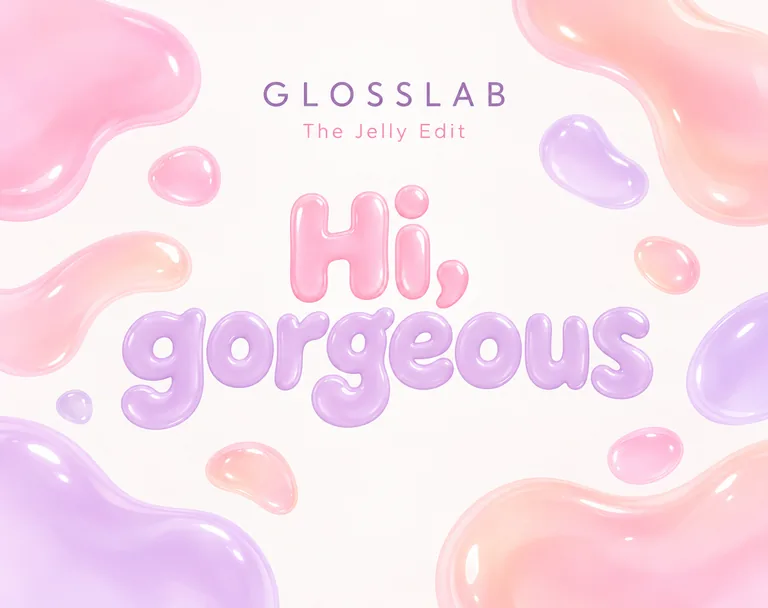
The second the lid opens is the peak of every unboxing video, and most brands waste it on blank cardboard. A short message printed inside the lid gives the camera something to land on and gives viewers a reason to screenshot it.
Pack AI Studio's AI Mailer Box Design tool is built for exactly this. You choose the lid, the inside or the front, describe your brand, type the words, and get a print PDF of that panel with 1/4 in bleed, on kraft or white board.
Dress it for the holidays
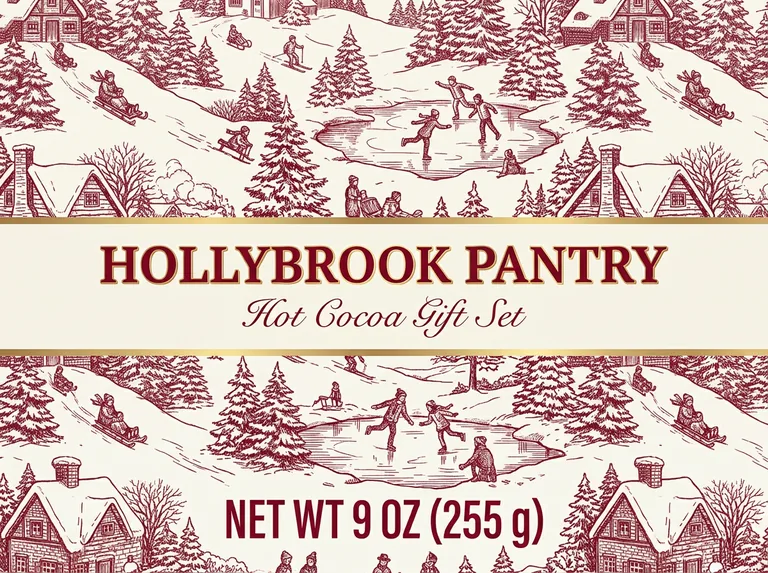
Seasonal packaging gives holiday unboxing videos an instant hook, and it does not have to mean a full redesign. A sleeve, a lid or a limited gift box is enough. Pack AI Studio's AI Gift Box Design tool has holiday examples such as advent calendar lids, drawer boxes and festive gift sets.
See the unboxing before you print
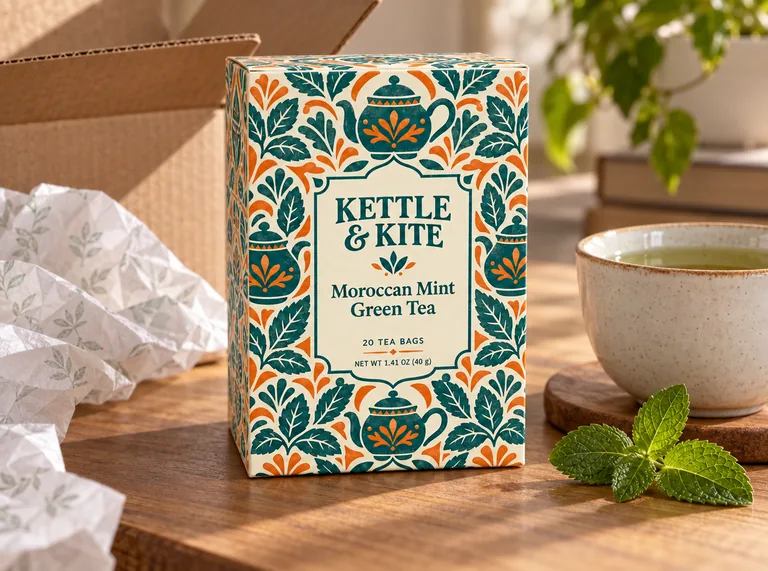
Printing a run of boxes only to discover they look flat on camera is an expensive lesson. The AI Packaging Mockup Generator on Pack AI Studio places your flat design on a box, pouch, can or bottle in a realistic scene, and can also fold a free 3D box mockup as a PNG. The tea box at the top of this guide is one of its examples: a mailer box, tissue paper and the product, which is a ready-made storyboard for your first shot and a ready-made start frame for an AI unboxing teaser.
Small extras matter too. Seal the tissue with a branded sticker (Pack AI Studio's free sticker sheet maker exports Letter, Avery and Cricut layouts with no signup and no watermark), and add a card the camera can read.
Step 2: Plan your unboxing video shot list
Write the shots down before you film. A simple list keeps the video short and makes sure you capture the moments you designed for.
| Shot | What to show | Length | Tip |
|---|---|---|---|
| Hook | The closed box with one detail, such as the sticker or ribbon | 1 to 2 s | Open on movement, never on a still box |
| Outer box | The box turning or being picked up | 2 to 3 s | Show the shipping side and the branded side |
| Lid moment | The lid lifting to reveal the inside message | 2 to 3 s | Hold for a beat so the text is readable |
| Tissue and layers | Tissue folding back, inserts, cards | 3 to 5 s | Slow hands; this is where the sound is |
| Product reveal | The product lifted out and turned | 3 to 5 s | Show scale against a hand or common object |
| Detail shots | Texture, labels, accessories | 3 to 6 s | Close-ups at an angle, not straight on |
| In use | The product doing its job | 3 to 5 s | One clear action, such as lighting the candle |
| End frame | Everything laid out, plus where to buy | 2 s | Keep the call to action short |
That adds up to about 20 to 35 seconds, which suits TikTok, Reels and Shorts. For YouTube or a store page, let each shot breathe and add commentary.
Step 3: Camera setup and lighting for unboxing videos
You do not need a studio. You need a steady camera, soft light and a clean surface.
- Camera. A recent phone is enough. Lock focus and exposure on the box before you start so the image does not pulse when hands move in.
- Position. Overhead (top-down) is the classic unboxing video angle and works well for flat lays. A 45 degree angle feels more personal and shows the height of the box. Pick one per video so the edit stays consistent.
- Support. Use an overhead arm or tripod. A handheld unboxing looks shaky and hides the details you paid for.
- Light. Daylight from a window to one side, with a white card on the other side to fill shadows. Avoid mixing daylight with warm bulbs, which turns white tissue orange on one side and blue on the other.
- Surface. A matte, uncluttered table or linen. Glossy surfaces reflect your phone and lights.
- Sound. Paper, tape and tissue sounds are half of the appeal, especially for ASMR unboxing videos. Turn off fans and music and keep the microphone close.
Step 4: Film and edit the unboxing video
- Film each shot two or three times. Real boxes stick, tissue tears and hands block the logo. Extra takes save the edit.
- Cut on movement. Change shots while the hands are moving; it hides the cut and keeps the pace up.
- Hook in the first two seconds. Open on the lid lifting or the sticker peeling, not on a box sitting still.
- Shoot vertical first. Frame for 9:16 (TikTok, Reels, Shorts) and keep the important action in the center so you can crop to 16:9 for YouTube or your product page.
- Loop the lid moment for your store. A few seconds of the lid opening, looped seamlessly, makes a strong product page header. Our cinemagraph guide shows how to hide the loop point.
- Make the thumbnail from the lid moment. For YouTube, the open box with the inside message visible makes a stronger unboxing video thumbnail than the closed box.
- Add captions. Many people watch with the sound off, so name the product and the offer on screen.
Make an AI unboxing teaser before stock arrives
Holiday campaigns often need video before the first box is printed. Here AI helps: you can turn a packaging mockup or a product photo into a short reveal clip with GenWorldAI Image to Video, then film the real unboxing once stock lands.
A reliable way to do it:
- Prepare two images. Use the closed box as the start frame and the opened box, with the product visible, as the end frame. A mockup tool like the one above gives you both with identical framing. If you only have the closed box, create the end frame in GenWorldAI Image to Image by describing the change, for example "open the lid and show the candle inside, keep everything else identical"; that is how we made the end frame for our volcano example. No product photo yet? Generate a styled product scene with Text to Image.
- Upload both to Image to Video. The first image becomes the start frame and the second the end frame, and the model animates the change between them.
- Describe only the motion. For example: "The mailer box lid lifts open, the tissue paper unfolds and the candle box is revealed. Static overhead camera, soft window light." The video prompt generator can help you phrase it.
- Keep it short. Four seconds at 720p is enough for a teaser. Choose 9:16 for social.
What we have learned from our own tests with this workflow:
- Start and end frames give you control. When we gave the model two frames with the same framing, it landed exactly on the end state we designed (see the volcano example in our guide on how to animate a photo).
- "Static camera" in the prompt is not always obeyed. In one of our scenes, two prompt-only attempts still drifted toward the subject. Uploading the same image as both the start and the end frame kept the framing steady, as we describe in our cinemagraph guide.
- Small details can disappear, and text gets redrawn. Keep logos large and simple on the box, and check every clip for warped letters before you post it.
- AI hands are the weakest part. For teasers, let the lid and tissue move on their own; save real hands for the real unboxing.
Label AI unboxing videos honestly
An AI teaser is a preview, not a customer's experience, and it should never be presented as one. The FTC's final rule on fake reviews and testimonials (announced August 14, 2024, in force since October 21, 2024) covers testimonials from people who do not exist, including AI-generated ones. Platforms also require labels: YouTube asks creators to disclose realistic altered or synthetic content, such as a realistic scene that did not happen, and TikTok's integrity and authenticity guidelines require a label on AI-generated content that shows realistic scenes. Use the platform's AI label and say "preview" or "concept" in the caption.
Common unboxing video mistakes
- Packaging that does not fit the product. Size the box from the product, not from a stock catalog.
- A plain inside. The lid moment is free advertising; print something there.
- Too long a build-up. Get to the reveal within the first few seconds.
- Mixed light and a cluttered table. They make good packaging look cheap.
- Logos that fight the camera. Very thin type and glossy foil can be hard to read on a phone screen.
- Unlabeled AI footage. Label it, every time.
FAQ
What is an unboxing video?
An unboxing video is a recording of opening a new product and showing its packaging and contents. Brands use unboxing videos to show customers exactly what arrives and how it feels to open it.
How do you make a good unboxing video?
Start with packaging that fits the product and has something to reveal inside the lid. Plan a short shot list, film on a tripod with soft side light, capture the sound of the packaging, and edit so the reveal happens within the first few seconds.
How do you film an unboxing video with a phone?
Mount the phone overhead or at 45 degrees, lock focus and exposure on the box, use window light from one side with a white card opposite, and film each shot two or three times. Frame for vertical video and keep the action in the center.
Do unboxing videos make money?
They can, in two ways. Creators earn from ads, sponsorships and affiliate links on unboxing videos. Brands earn indirectly: a clear unboxing video on a product page or in an ad answers buying questions that photos cannot.
Why are unboxing videos so popular?
They let viewers share the anticipation of opening something new and see a product's real size, finish and contents before buying. Good packaging turns that moment into part of the product.
Can AI make an unboxing video?
AI can make a short unboxing teaser from a packaging mockup or product photo with an image to video tool, which is useful before stock arrives. It should be labeled as AI and used as a preview, not as a real customer unboxing.
Make your holiday unboxing video
Design the box first: size it with the free dieline generator and plan the lid and holiday artwork on Pack AI Studio. Then turn the mockup into a short teaser in GenWorldAI Image to Video, and film the real unboxing as soon as the boxes arrive.
About this guide: the dieline generator test was run by us on October 15, 2026, without an account. Packaging images marked as examples come from Pack AI Studio's own tool pages. The AI video observations come from our earlier tests with GenWorldAI Image to Video, described in the linked guides.